Section: 46B
Hours: 2
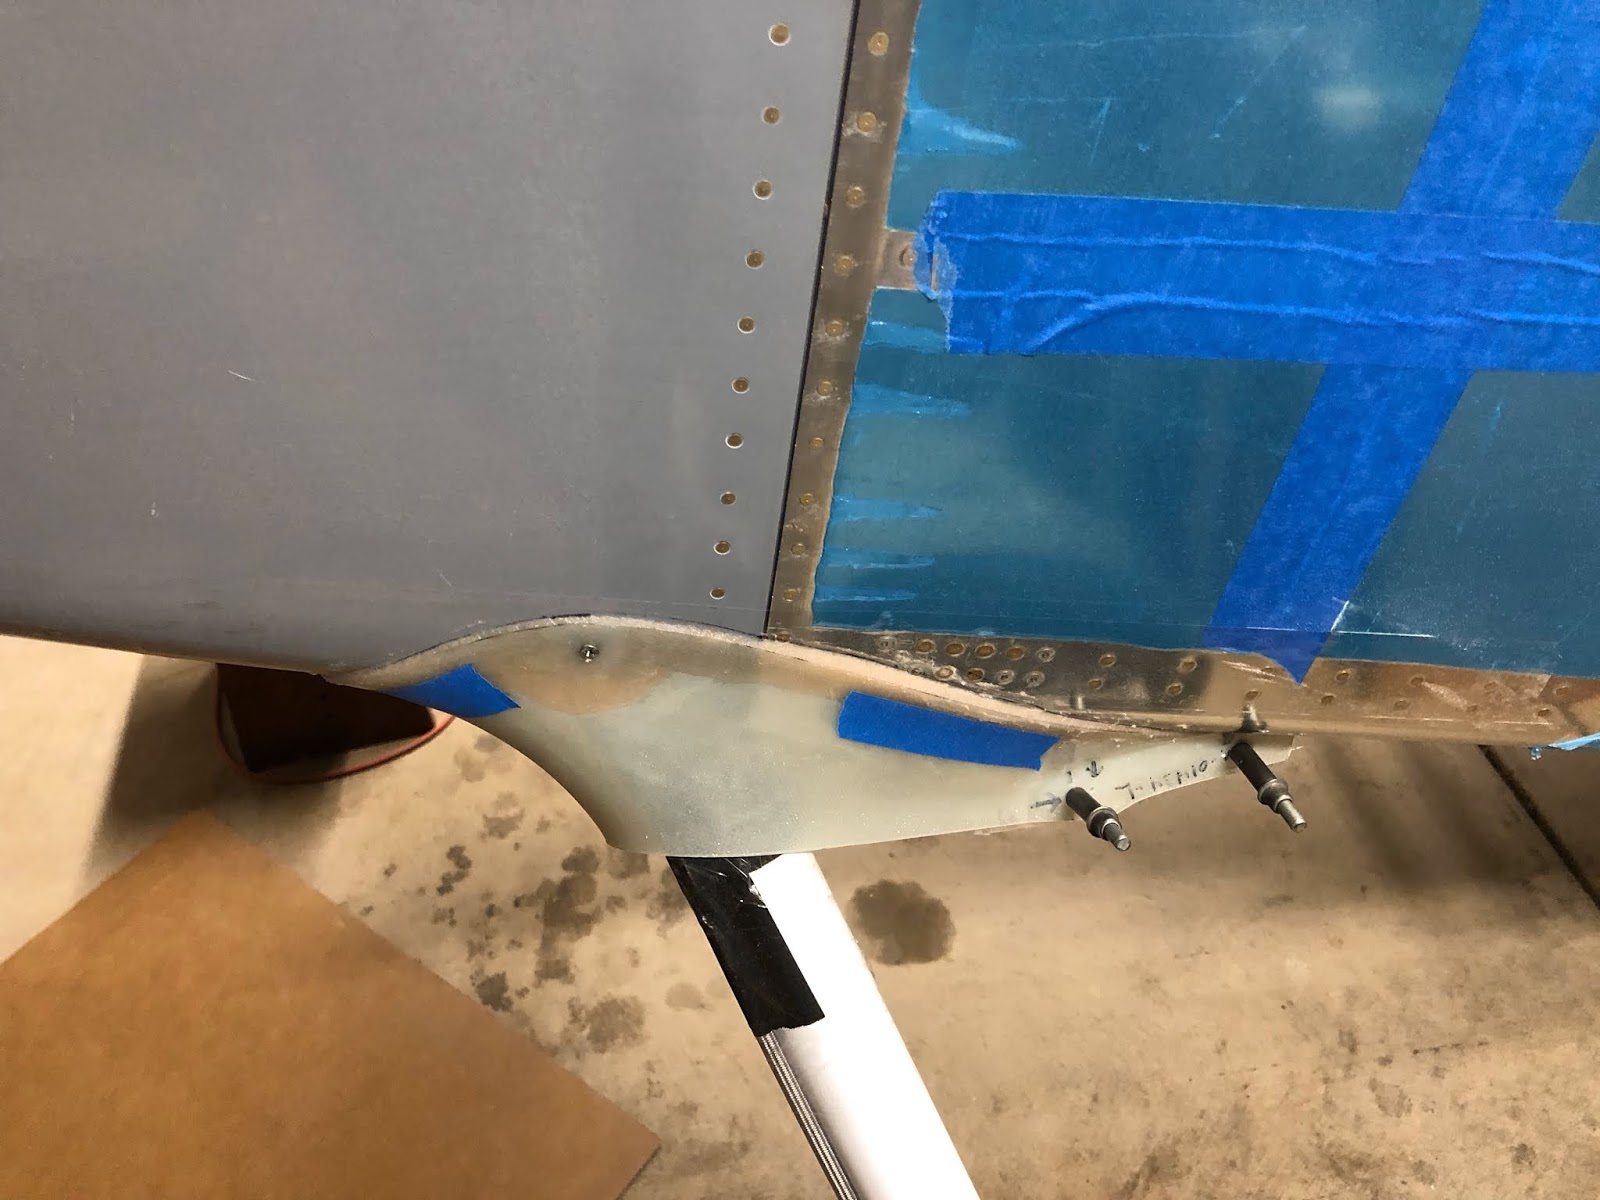
I cleaned up the upper fairing trailing edges. Just about finished with section 46B. The wheel fairings are a lot of work!!!
Section: 47
Hours: 2
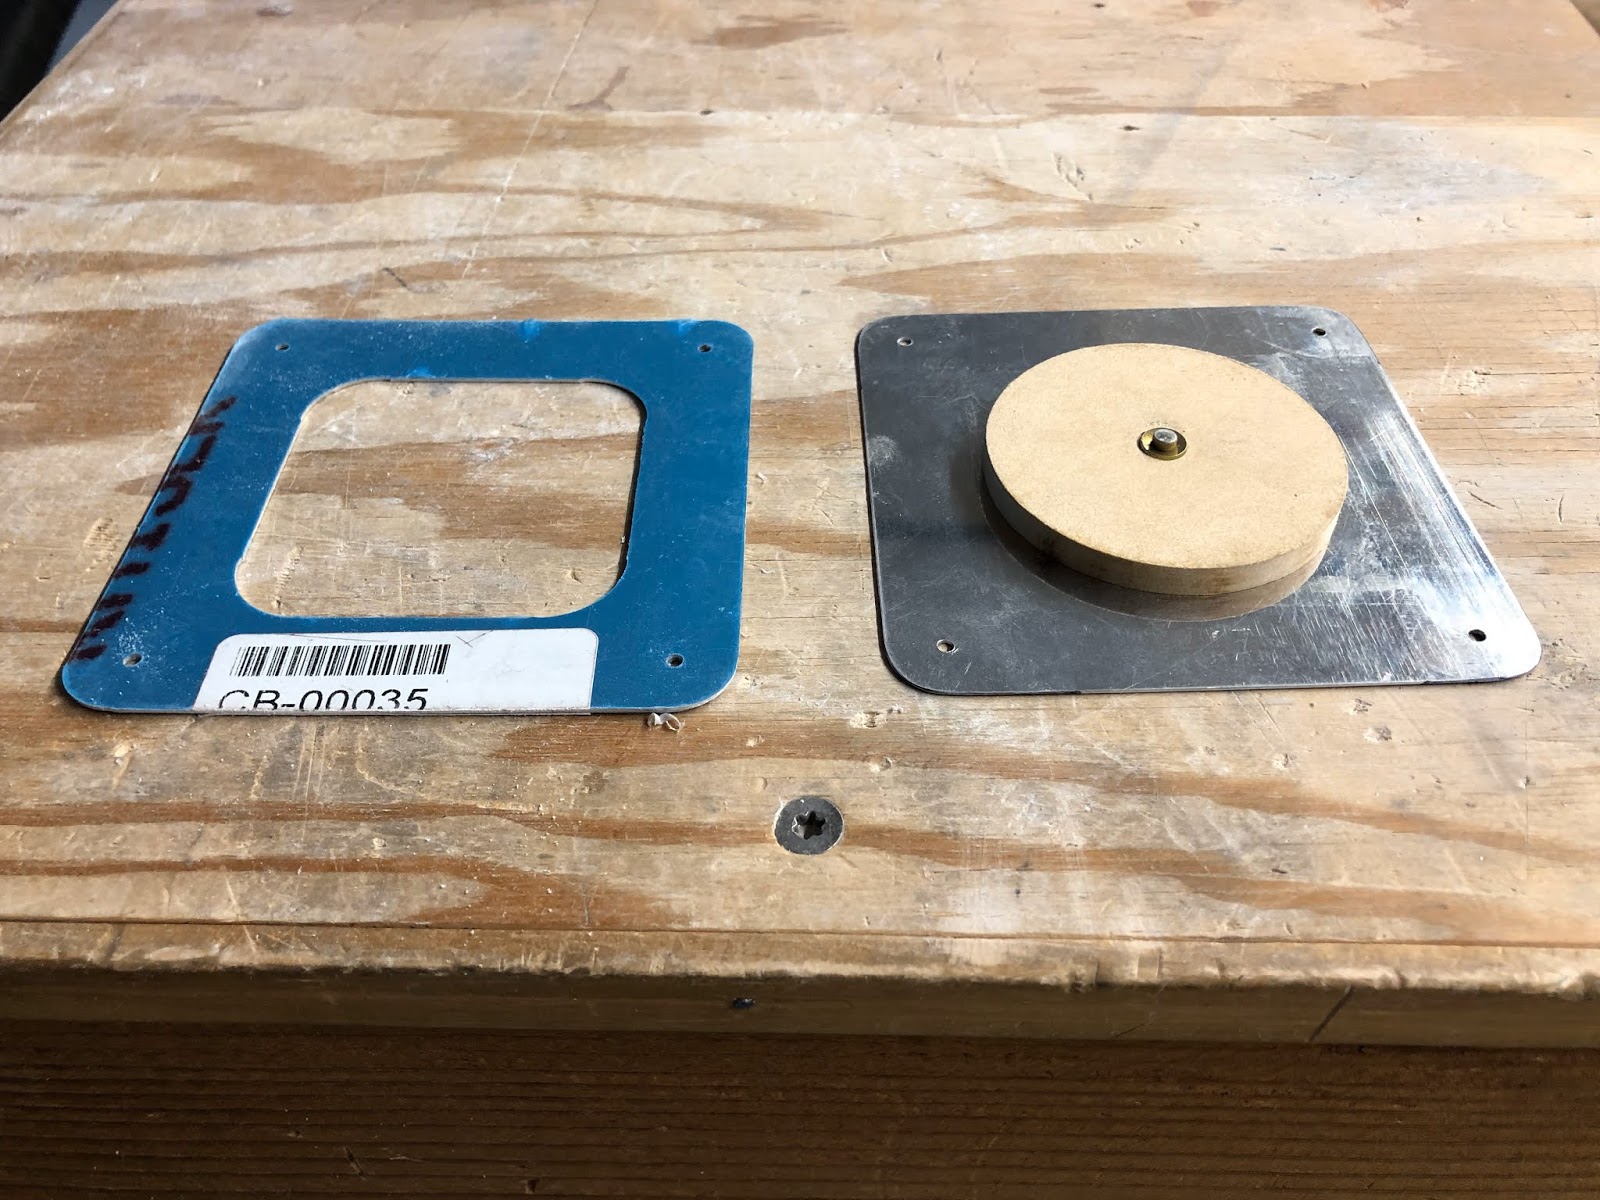
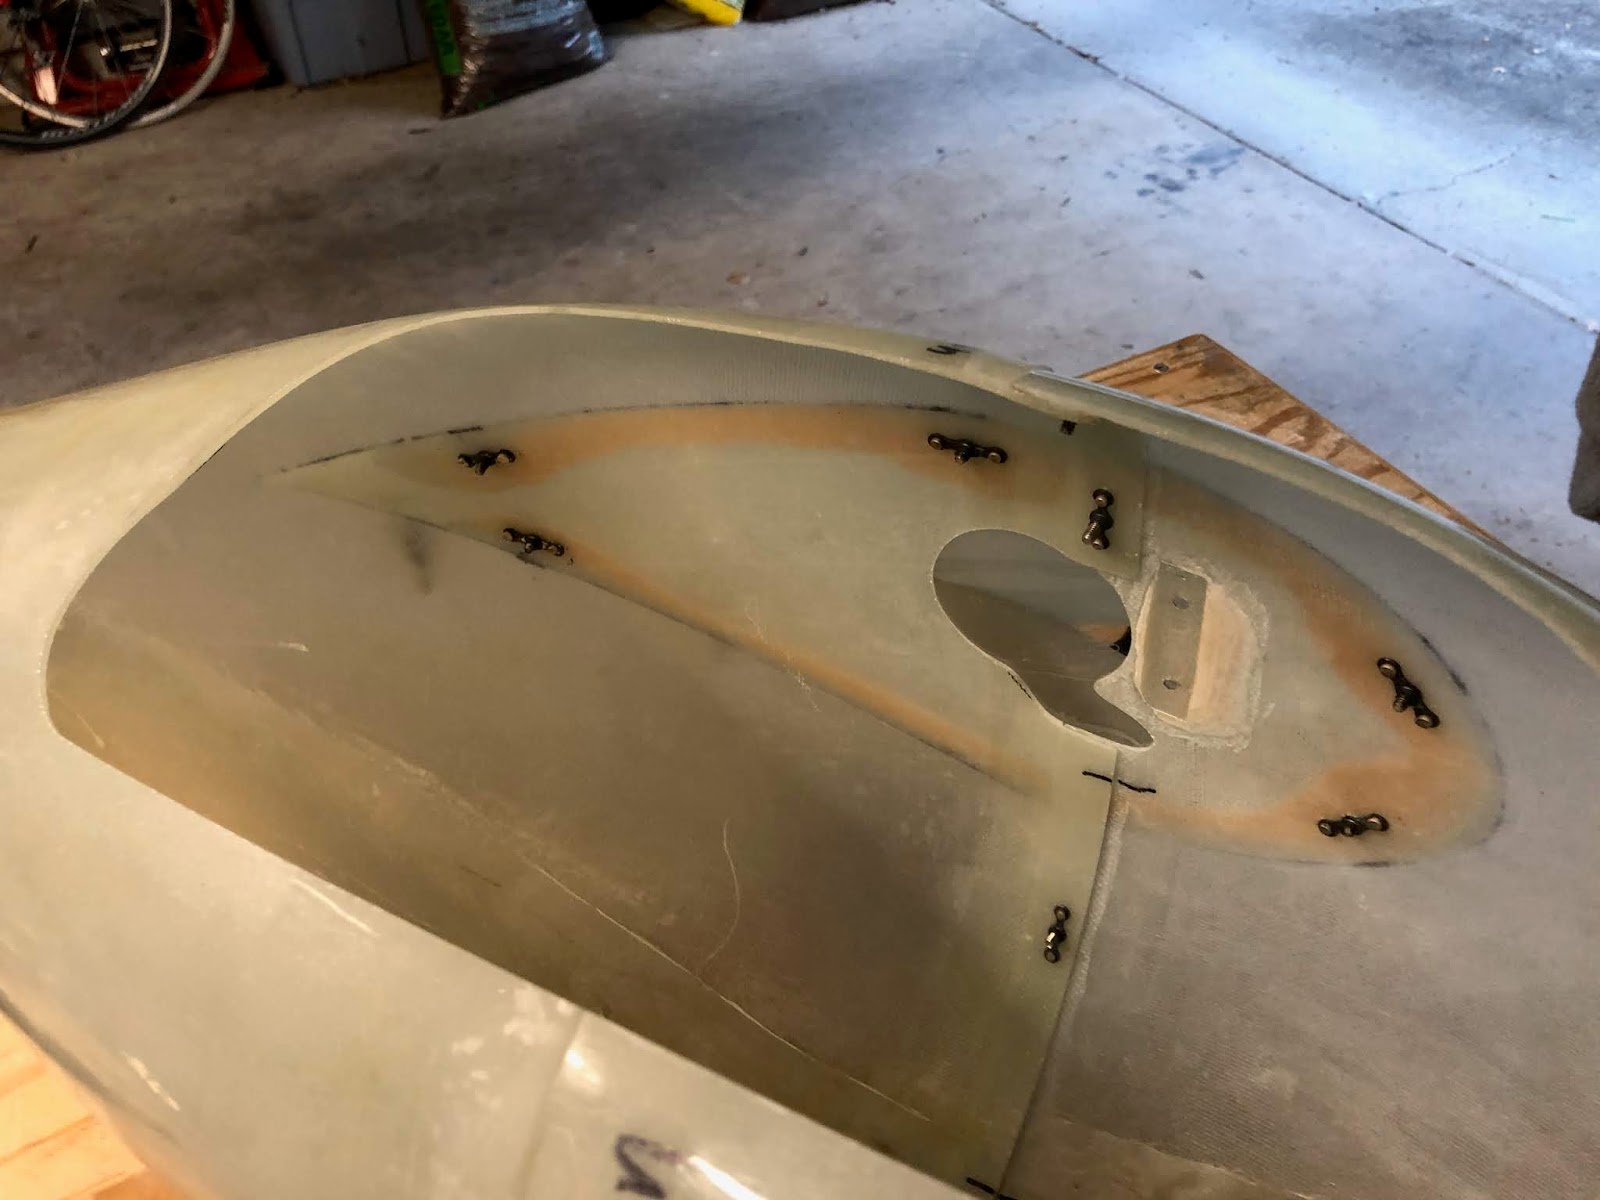
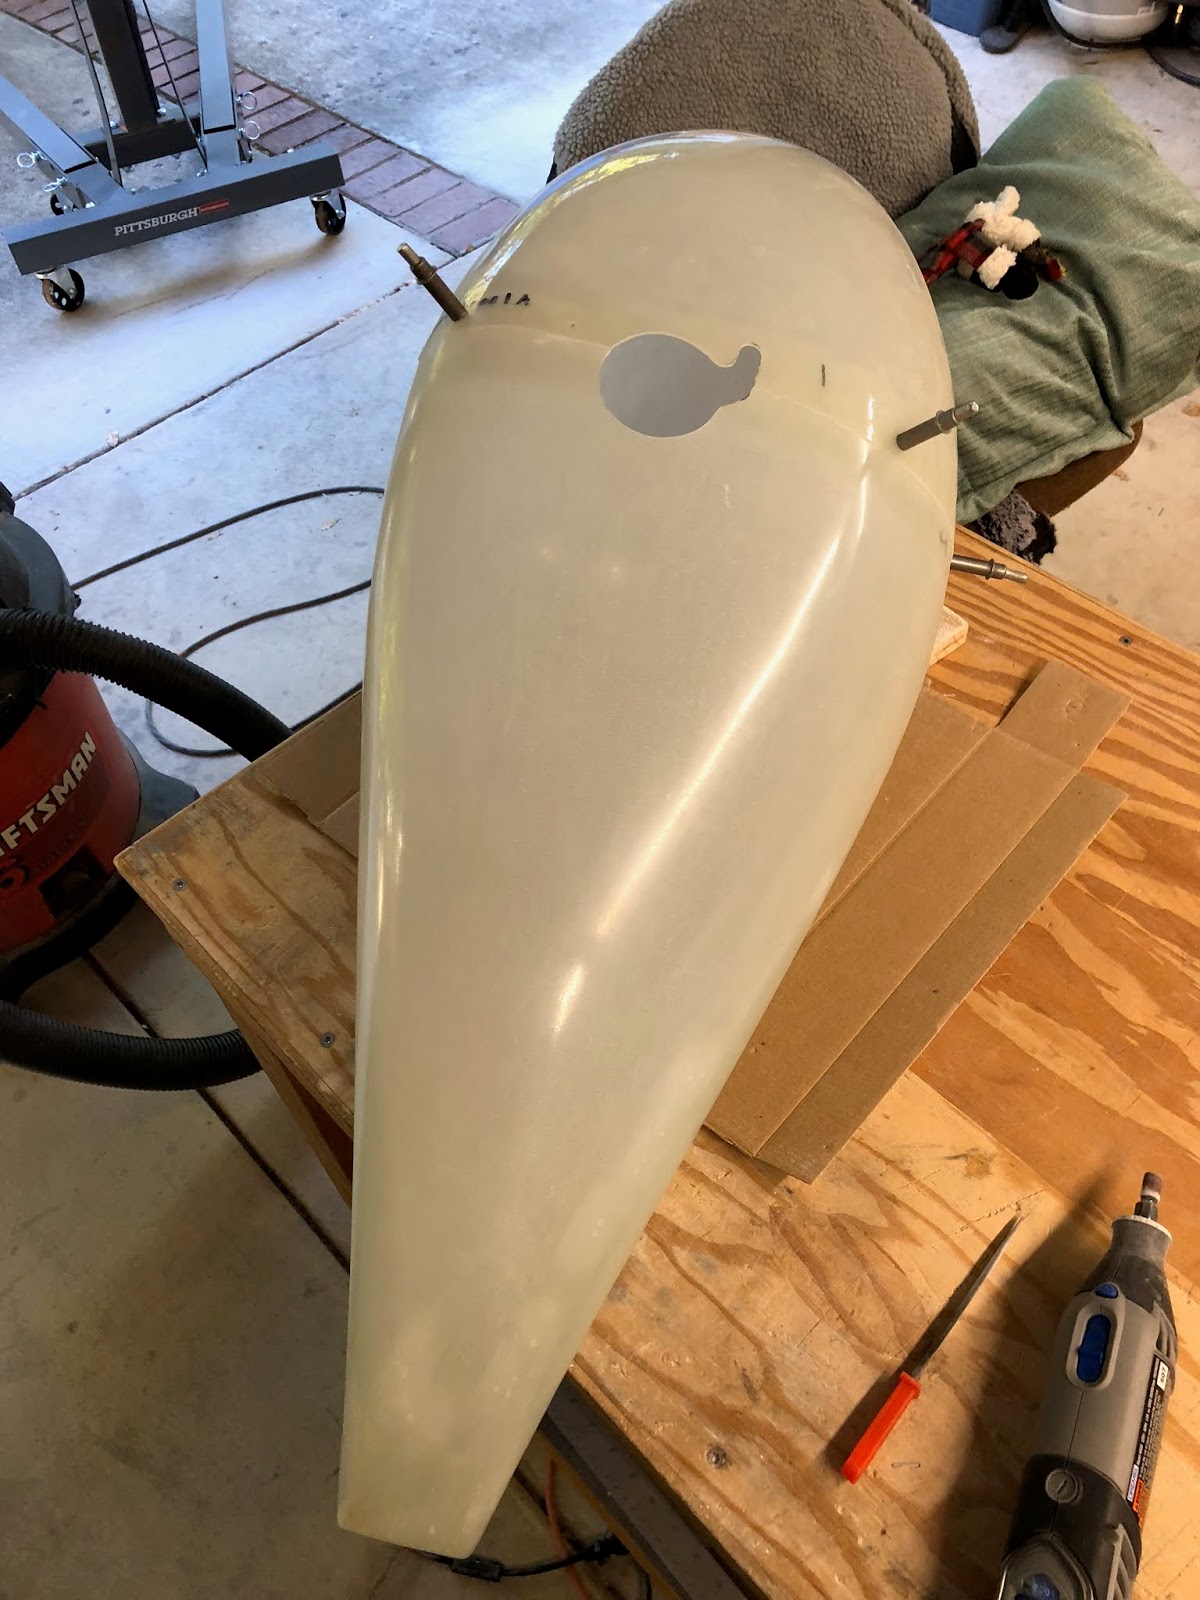
I started work on the engine air intake snorkel. The fiberglass flange bolt holes must be drilled and the snorkel must be aligned with the engine. Here I've used the template provided in the kit to locate the bolt holes.
To aid aligning the snorkel with the engine, I built an aluminum spacer plate with a composite board circular hole that will be inserted in the engine inlet hole and align with the flange of the snorkel.
Disclaimer: This blog is to provide others insight into my experience and for my own historical purposes. Airplane construction is a serious affair. I have no authoritative skills relating to airplane construction. As such, any use of the information contained on this blog is at your own risk.
Showing posts with label Section 46B. Show all posts
Sunday, November 4, 2018
Saturday, November 3, 2018
Section 46B
Hours: 4
I pulled off the upper fairings and cleaned up the edges of the fillet with the dremel / sanding drum.
One side has a slight gap that is now filled with flox.
I clear taped on side of the inside rear of the fairing and built up a fillet that will bond to the other side. The fillet will provide a solid closure to the back of the fairing. I was careful to not build up the fillet too large where the back of the gear leg fairing enters the fairing.
Hours: 4
I pulled off the upper fairings and cleaned up the edges of the fillet with the dremel / sanding drum.
One side has a slight gap that is now filled with flox.
I clear taped on side of the inside rear of the fairing and built up a fillet that will bond to the other side. The fillet will provide a solid closure to the back of the fairing. I was careful to not build up the fillet too large where the back of the gear leg fairing enters the fairing.
Thursday, November 1, 2018
Section: 46B
Hours: 4
A fillet is added to the upper gear leg fairings similar to the fillet for the lower fairings.
The one side fit better than the other but the fillet will take care of the small gaps...
Hours: 4
A fillet is added to the upper gear leg fairings similar to the fillet for the lower fairings.
The one side fit better than the other but the fillet will take care of the small gaps...
Tuesday, October 23, 2018
Section: 46B
Hours: 5
After curing overnight, I separated the inside tab and shaped it with dremel tool, sand paper and file. Then I match drilled the tab to the fairing.
The tab is attached with 3 screws. Two of the screws will go into nut plates, but the innermost screw goes into a lock nut that gets embedded in flox/epoxy. Here I've just applied blobs of flox around the lock nuts.
A fillet must also be built up around the outside of the fairings to help hold them in place on the wheel pant (and for looks). First step is to scruff the outside of the wheel pant in the area where the fillet will be built.
Then I wrapped electrical tape around the edge of the fairing to prevent bonding and laid up a fillet of flox/epoxy. Flox epoxy is stronger than micro ballon putty. I think I will apply micro balloon later for final finishing because the flox it is difficult to smooth out perfectly.
Hours: 5
After curing overnight, I separated the inside tab and shaped it with dremel tool, sand paper and file. Then I match drilled the tab to the fairing.
The tab is attached with 3 screws. Two of the screws will go into nut plates, but the innermost screw goes into a lock nut that gets embedded in flox/epoxy. Here I've just applied blobs of flox around the lock nuts.
A fillet must also be built up around the outside of the fairings to help hold them in place on the wheel pant (and for looks). First step is to scruff the outside of the wheel pant in the area where the fillet will be built.
Then I wrapped electrical tape around the edge of the fairing to prevent bonding and laid up a fillet of flox/epoxy. Flox epoxy is stronger than micro ballon putty. I think I will apply micro balloon later for final finishing because the flox it is difficult to smooth out perfectly.
Monday, October 22, 2018
Section: 46B
Hours: 4
The packing tape worked and I was able to separate the fairings from the wheel pants.
I cleaned up the edges of the flox fillets using the dremel tool with drum sander attachment. Then I roughed up the inside of one half and applied clear packing tape to the other half and laid up several layers of fiberglass to create an attachment tab for closing the rear of the fairing.
Hours: 4
The packing tape worked and I was able to separate the fairings from the wheel pants.
I cleaned up the edges of the flox fillets using the dremel tool with drum sander attachment. Then I roughed up the inside of one half and applied clear packing tape to the other half and laid up several layers of fiberglass to create an attachment tab for closing the rear of the fairing.
Sunday, October 21, 2018
Section: 46B
Hours: 4
I was able to back rivet the nut plates for the lower fairing attach points.
The plans call for a built up flox / epoxy fillet between the lower fairing and the wheel pants. I applied clear packing tape on the wheel pants in the fillet area to prevent bonding. Then I mixed up the flox and applied a bead around the fairing with wider areas around the attach points. The bead is slightly higher than the edge so that it will mash down when the fillet is attached to the wheel pant.
Here is what the fillet looks like after attaching to the wheel pant.
And a view from the inside of the wheel pant. I'll let it cure overnight and clean up the result tomorrow.
Hours: 4
I was able to back rivet the nut plates for the lower fairing attach points.
The plans call for a built up flox / epoxy fillet between the lower fairing and the wheel pants. I applied clear packing tape on the wheel pants in the fillet area to prevent bonding. Then I mixed up the flox and applied a bead around the fairing with wider areas around the attach points. The bead is slightly higher than the edge so that it will mash down when the fillet is attached to the wheel pant.
Here is what the fillet looks like after attaching to the wheel pant.
And a view from the inside of the wheel pant. I'll let it cure overnight and clean up the result tomorrow.
Saturday, October 20, 2018
Section: 46b
Hours: 6
Work continued on the upper and lower fairings for both gear legs. Lots of trial fitting followed by more sanding...
The instructions specify that you build up a thickness of tape where the upper and lower fairings ride on the gear leg to allow movement.
Hours: 6
Work continued on the upper and lower fairings for both gear legs. Lots of trial fitting followed by more sanding...
The instructions specify that you build up a thickness of tape where the upper and lower fairings ride on the gear leg to allow movement.
Friday, October 19, 2018
Section: 46B
Hours: 4
Today's task was trimming the lower fairing to the trim lines and doing the initial fitting. I used the dremel tool with a cut off blade to rough cut to size and then sanded to trim lines. I use the straight block and also a round sanding block (empty tape roll with sand paper strip taped on).
Here is the initial fitting. All this work should net over 5 kts of added speed through drag reduction!
Hours: 4
Today's task was trimming the lower fairing to the trim lines and doing the initial fitting. I used the dremel tool with a cut off blade to rough cut to size and then sanded to trim lines. I use the straight block and also a round sanding block (empty tape roll with sand paper strip taped on).
Here is the initial fitting. All this work should net over 5 kts of added speed through drag reduction!
Thursday, October 18, 2018
Section: 46B
Hours: 5
I added nut plates and counter sank the screw holes in the wheel pants.
Here are the wheel pants after countersinking the holes and screwing the halves together.
Next I worked on fitting the upper gear leg fairings to the fuselage. I wasn't able to completely close the gaps just by sanding the fairing. It will probably require some flox/epoxy work to get a final fit.
Hours: 5
I added nut plates and counter sank the screw holes in the wheel pants.
Here are the wheel pants after countersinking the holes and screwing the halves together.
Next I worked on fitting the upper gear leg fairings to the fuselage. I wasn't able to completely close the gaps just by sanding the fairing. It will probably require some flox/epoxy work to get a final fit.
Wednesday, October 17, 2018
Section: 46B
Hours: 5
Following the directions in the manual, I used a plum bob to mark the center line under the fuselage and then laid out two parallel lines of tape close to the wheels. These lines are used to align the wheel pants parallel to the fuselage.
To set the wheel pant cant angle, I used two boards clamped together to the proper angle (see manual).
When the wheel pant was fully aligned I match drilled it to the attach clips. Then I moved the airplane back in the garage, removed the pants and taped over the attach clips with clear packing tape. Next I mixed up some flox / epoxy and built up an area around each of the attach points and then screwed the wheel pants in place. The flox build up molds to the wheel pant and attach point and when it sets up it will provide a solid connection.
Note: the flox is inside between the clips and the pant.
Hours: 5
Following the directions in the manual, I used a plum bob to mark the center line under the fuselage and then laid out two parallel lines of tape close to the wheels. These lines are used to align the wheel pants parallel to the fuselage.
To set the wheel pant cant angle, I used two boards clamped together to the proper angle (see manual).
When the wheel pant was fully aligned I match drilled it to the attach clips. Then I moved the airplane back in the garage, removed the pants and taped over the attach clips with clear packing tape. Next I mixed up some flox / epoxy and built up an area around each of the attach points and then screwed the wheel pants in place. The flox build up molds to the wheel pant and attach point and when it sets up it will provide a solid connection.
Note: the flox is inside between the clips and the pant.
Tuesday, October 16, 2018
Section: 46B
Hours: 5
Today I started work on mating the wheel fairings to the gear legs. First I cut out holes for the axle and brake line. I used a hole saw to cut an undersized hole then trimmed to final size using the dremel tool with a sanding drum and a small file.
Next I moved the fuselage out to the driveway and leveled it using saw horses and the engine hoist. Level is measured on the canopy side rails. Woody was my helper today. Here are the pants after initial positioning.
Hours: 5
Today I started work on mating the wheel fairings to the gear legs. First I cut out holes for the axle and brake line. I used a hole saw to cut an undersized hole then trimmed to final size using the dremel tool with a sanding drum and a small file.
Next I moved the fuselage out to the driveway and leveled it using saw horses and the engine hoist. Level is measured on the canopy side rails. Woody was my helper today. Here are the pants after initial positioning.
Saturday, May 12, 2018
Section: 46B
Hours: 3
I cleaned up the air vents to prepare them for priming and painting. I sanded off the excess pro seal and the molding flashing and roughed up the surfaces to get a good bond for the primer.
Then I sealed the upper deck to firewall seam with pro seal using a popsicle stick.
Hours: 3
I cleaned up the air vents to prepare them for priming and painting. I sanded off the excess pro seal and the molding flashing and roughed up the surfaces to get a good bond for the primer.
Then I sealed the upper deck to firewall seam with pro seal using a popsicle stick.
Friday, May 11, 2018
Section: 46B
Hours: 4
Today I continued working on the landing gear leg fairings. I marked the trim lines with black felt tip on the gear leg transition pieces and trimmed and sanded with the dremel. I used a block of wood and a couple of clamps to hold the fairing in place while cutting and rough sanding.
I then hand sanded to the trim lines using 80 grit sandpaper and a long block and a round sanding block.
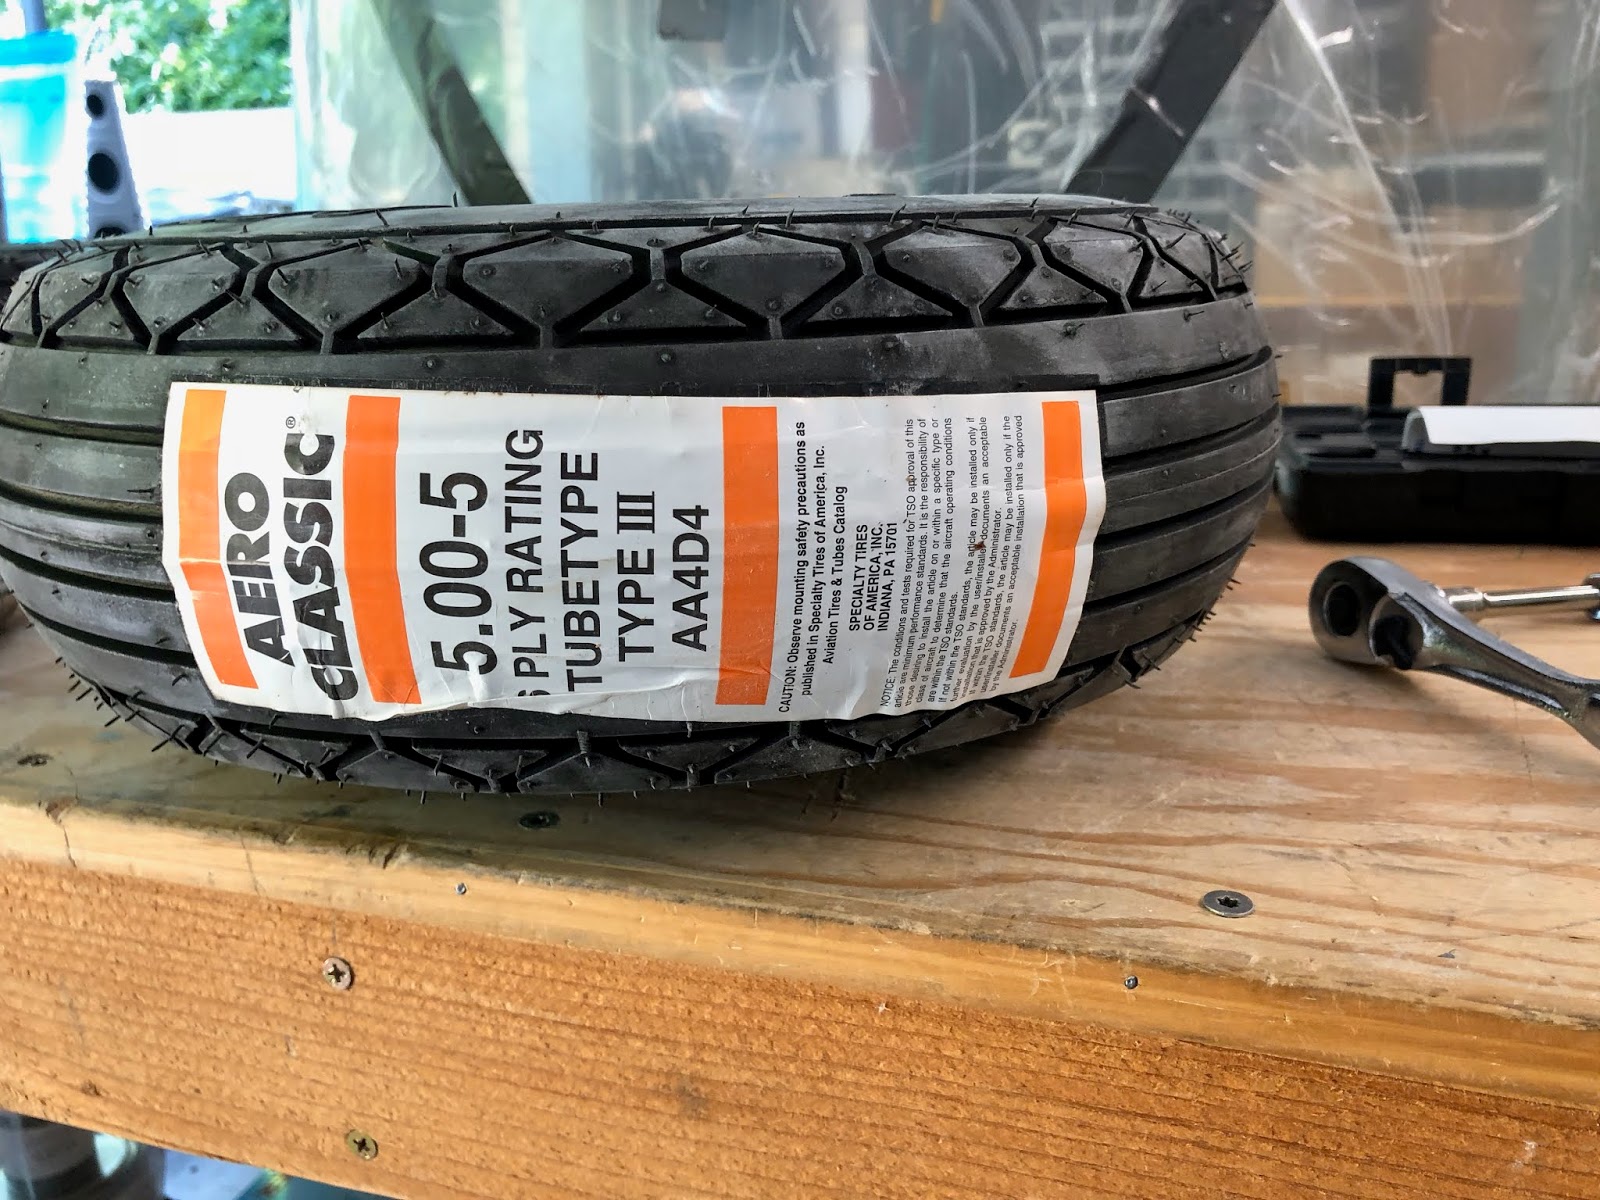
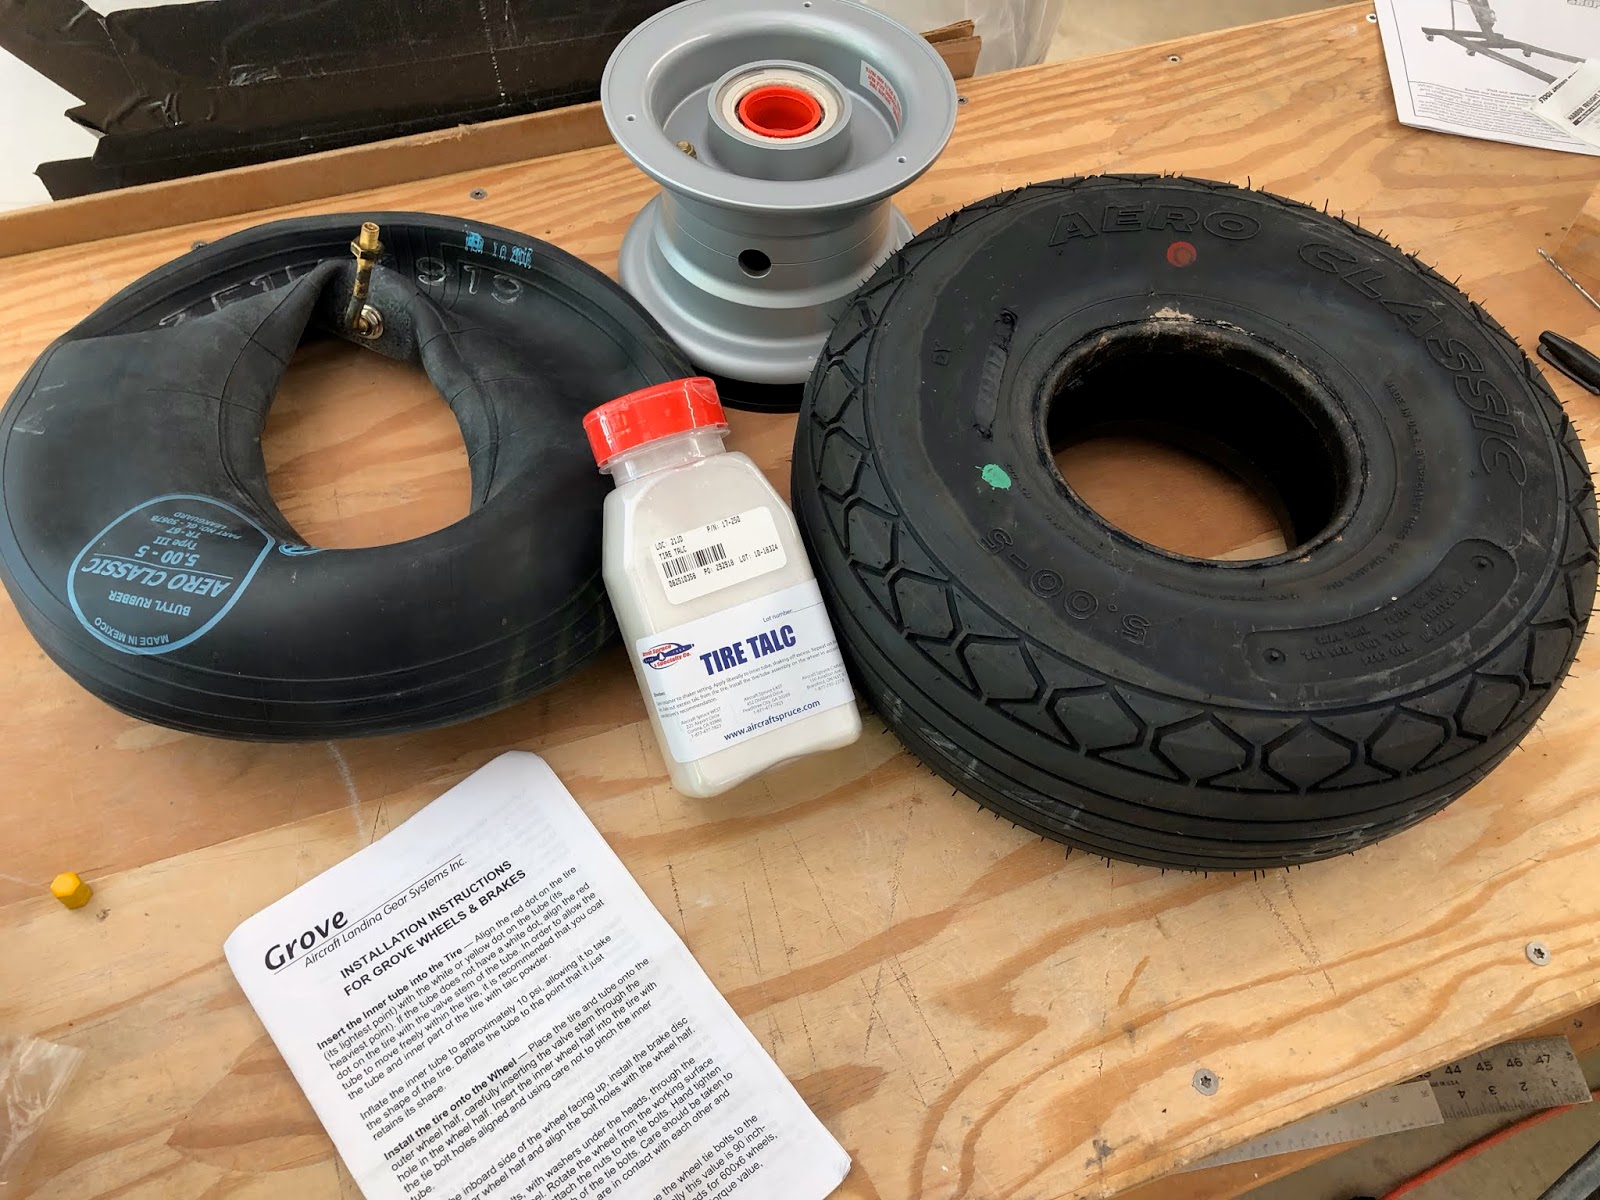
Next I mounted the tires.
I asked my wife to pick up some baby powder at the grocery the other day but it is no longer sold because it is a health hazard so I had to order tire talc from Aircraft Spruce.
Hours: 4
Today I continued working on the landing gear leg fairings. I marked the trim lines with black felt tip on the gear leg transition pieces and trimmed and sanded with the dremel. I used a block of wood and a couple of clamps to hold the fairing in place while cutting and rough sanding.
I then hand sanded to the trim lines using 80 grit sandpaper and a long block and a round sanding block.
Next I mounted the tires.
I asked my wife to pick up some baby powder at the grocery the other day but it is no longer sold because it is a health hazard so I had to order tire talc from Aircraft Spruce.
Here are the tires assembled and inflated.
Thursday, May 10, 2018
Section: 46B
Hours: 6
Day 2 working on landing gear leg fairings. Today I riveted piano hinges into the leg fairings. It took all day. Lots and lots of holes, counter sinks, rivets.
Step 1: Mark location of holes on the piano hinge. I scribed the hole locations into the hinge and then used a black marker to put a dot on the end holes so they would be visible through the fiberglass. I really only needed to mark the starting holes at each end, because I used a rivet fan to drill all the rest of the holes.
Step 2: Insert piano hinge such that end holes are evenly spaced from ends of the fairing which coincidentally left a full hinge loop at one end. Then I used cleco clamps to hold the hinge in place and drilled holes at the starting holes for each end being careful not to drill into the opposite side. Then I used the rivet fan to drill and the remaining holes, starting from one end working to the opposite end. I inserted clecos as I went and used light pressure on the drill so the piano hinge would not push away from the fairing. Then I counter sank all the holes for the rivet head.
Step 3: I inserted a spacer board to hold the back of the fairing open and then riveted the hinge on using the pneumatic squeezer.
The piano hinge is rather soft and the fiberglass has little rigidity so it was hard to ensure that the rivet would pull the hinge flush to the fiberglass. I found I had to use the rubber washer trick to squeeze the hinge firmly to the fiberglass. I also discovered it was really important to use a board spacer along the entire length of the fairing to hold the fairing open and keep the piano hinge flat with no sagging or bends.
After I finished the first fairing I noticed that the ends of the fairing were not being pulled together very well. I slightly adjusted the hinge position in the 2nd fairing a little further away from the trailing edge so that it would pull the fairing edges together with a little more force. That worked, but it also made it more difficult to insert the hinge pin. I used Boelube and eventually worked the pins into both fairings, but this is going to be a difficult task. Hopefully I will not have to remove/install the gear leg fairings very often...
My E-Mag Electronic Ignition P model 114 magneto package arrived today. My IO-390 came from Lycoming with 2 Slick magnetos, but I have decided to go all electronic ignition. I ordered direct from E-Mag and they put together a kit for my IO-390 that included 2 model 114 magnetos, 2 wiring harnesses, 2 sets of spark plug adapters for auto spark plugs and 2 accessory kits (manifold tubing, serial port plug, wire). They also included 2 shorter studs and a timing gear to replace the studs and timing gear that come with the Slick that was set up with a recoil starting spring. I was going to order from Spruce Aircraft Supply, but the timing gear is really expensive and if you order from E-Mag direct it is a little cheaper because they get a deal from Lycoming.
Also included in the box was a package of gourmet popcorn. I'm not sure how to apply that to the mags- I guess I'll have to read the installation manual ;-)
Hours: 6
Day 2 working on landing gear leg fairings. Today I riveted piano hinges into the leg fairings. It took all day. Lots and lots of holes, counter sinks, rivets.
Step 1: Mark location of holes on the piano hinge. I scribed the hole locations into the hinge and then used a black marker to put a dot on the end holes so they would be visible through the fiberglass. I really only needed to mark the starting holes at each end, because I used a rivet fan to drill all the rest of the holes.
Step 2: Insert piano hinge such that end holes are evenly spaced from ends of the fairing which coincidentally left a full hinge loop at one end. Then I used cleco clamps to hold the hinge in place and drilled holes at the starting holes for each end being careful not to drill into the opposite side. Then I used the rivet fan to drill and the remaining holes, starting from one end working to the opposite end. I inserted clecos as I went and used light pressure on the drill so the piano hinge would not push away from the fairing. Then I counter sank all the holes for the rivet head.Step 3: I inserted a spacer board to hold the back of the fairing open and then riveted the hinge on using the pneumatic squeezer.
The piano hinge is rather soft and the fiberglass has little rigidity so it was hard to ensure that the rivet would pull the hinge flush to the fiberglass. I found I had to use the rubber washer trick to squeeze the hinge firmly to the fiberglass. I also discovered it was really important to use a board spacer along the entire length of the fairing to hold the fairing open and keep the piano hinge flat with no sagging or bends.
After I finished the first fairing I noticed that the ends of the fairing were not being pulled together very well. I slightly adjusted the hinge position in the 2nd fairing a little further away from the trailing edge so that it would pull the fairing edges together with a little more force. That worked, but it also made it more difficult to insert the hinge pin. I used Boelube and eventually worked the pins into both fairings, but this is going to be a difficult task. Hopefully I will not have to remove/install the gear leg fairings very often...
My E-Mag Electronic Ignition P model 114 magneto package arrived today. My IO-390 came from Lycoming with 2 Slick magnetos, but I have decided to go all electronic ignition. I ordered direct from E-Mag and they put together a kit for my IO-390 that included 2 model 114 magnetos, 2 wiring harnesses, 2 sets of spark plug adapters for auto spark plugs and 2 accessory kits (manifold tubing, serial port plug, wire). They also included 2 shorter studs and a timing gear to replace the studs and timing gear that come with the Slick that was set up with a recoil starting spring. I was going to order from Spruce Aircraft Supply, but the timing gear is really expensive and if you order from E-Mag direct it is a little cheaper because they get a deal from Lycoming.
Also included in the box was a package of gourmet popcorn. I'm not sure how to apply that to the mags- I guess I'll have to read the installation manual ;-)
Subscribe to:
Posts (Atom)